A kitchen renovation is a large undertaking, building a kitchen in a place that never had a kitchen can be even more challenging. Building a kitchen with no experience in plumbing, electric, HVAC, and cabinetry, is a crazy idea. But let’s get into it…
So the existing kitchen is located in the back of the house, and I wanted to move the new kitchen to the middle of the house. This was for two reasons. One, I knew it would take me a long time to build this new kitchen, so having a working kitchen would allow me to take the time I needed to on the new kitchen. The other reason is that the back of the house is built very poorly. In the final phase of the house renovation the back room will be demolished and rebuilt into a living room. When I go to demolish that room, I’ll be able to have a working kitchen in the middle of the house while the back is under construction. But that won’t be for a while, so lets get back into this kitchen post.
Obviously it all starts with design options. Since the house is so small, I knew I needed to be really efficient with space and layout. Also, having a house without a dining room, or space to put a kitchen table, I was going to have to incorporate seating for at least 2. The kitchen was going to be primarily installed on the south wall in the central room. On the opposite wall, there was the main HVAC return from the second floor that bumped out into the space about 18″x24″. With a house that is only 11′ wide it would provide an additional challenge.
Thinking about design options, I wanted a modern kitchen. From the start I knew I didn’t want stainless steel appliances, and I’d like to have a glossy finish on the cabinets. I also knew I wanted to incorporate walnut veneer in the design somewhere.

Option 1 seemed to be the most simple. The kitchen was in a basic L format. The sink would be overlooking the stairs, (not shown), and the countertop would waterfall down to the floor. I liked the upper cabinets being all cut out of the same piece of walnut plywood. The problem with the L layout is there is a lot of wasted space in the corner. In this option a kitchen table would be placed against the north wall, opposite to the kitchen cabinets (not shown).

Option 2 had an island for seating only. The cabinets were mostly gloss black. The problem with this layout was the upper cabinets became pretty small when you have the row of walnut cabinets under it. Since the house is a internal row home with only windows on the front and back, the black cabinets were not going to help the house feel any brighter.

Option 3 switched over to all white cabinets and appliances. The sink and the cooktop were next to each other. I’m not sure where I had the dishwasher in this option. Maybe it was in the island, but I guess I didn’t realize at the time that the DW usually drains into the garbage disposal.

Option 4, the selected option, moved the sink and dishwasher to the island, The cooktop became centered in the cabinets, across from the sink. The wall oven was to be mounted in a column of ‘cabinets’, and responds to the ‘column’ that holds the refrigerator. I’d attempt to have seating for 4 on the island with the island having an overhang. Walnut veneer would surround the columns, and wrap the island. The island would act as a extension of inset of the cabinets between the two ‘columns’. This would allow for a clear space behind the refrigerator and the wall oven. This was as you took something out of either of those you’d have some clear space behind you and wouldn’t bump into anything. The white cabinets would help keep the house looking bright.

After further refining option 4, I realized that I did not have enough space to have the seating in front of the island, and the seating would have to be on the left side, facing the other person, which I was fine with. I also liked the idea of putting countertop material as the backsplash, along with above the cabinets.
Okay now that the basic design is done, lets get to actually making this happen.
When sitting down to align the sizes I’ve drawn to actual cabinet sizes sold / manufactured by cabinet shops, I referenced IKEA for basic sizing. They have tons of technical specs on their cabinets online. I also figured I can start with a real cabinet shop and if I couldn’t afford them, I could always get IKEA stuff as a backup plan.
So I adjusted all the sizes to fit with IKEA’s dimensions.


Then I had everything I needed to go and price things out. I reached out to my stepdad who works for a cabinet shop. I wanted the white polished faces and nice solid plywood with birch veneer carcasses. When I got my price from the cabinet shop it was close to $20,000. I could opt for melamine carcasses for a savings of $5,000. Not bad for cabinets, but out of my price range. Ikea came in at around $10,000. If you go with just plain white (not gloss) I’d save 2,000. Its crazy how much more expensive the glossy faces were. $95 vs $22. So at this point, it looked like I was getting an IKEA kitchen. After visiting IKEA several times and getting familiar with how their kitchen goes together. I wasn’t super keen on how durable the kitchens seemed. I would still be getting a melamine kitchen from IKEA, which I wasn’t crazy about. Getting all this pricing I was pretty bummed out. This was well out of my price range, I guess I didn’t really know what I was thinking but I only had budgeted about 10k for the kitchen, and I still had appliances and countertops to buy.
I forget how I got onto this but I was thinking how crazy expensive this was all sounding. I mean, come on. What are cabinets anyways? just wooded boxes? 6 pieces of wood? maybe some hinges? A door or two? Screw this, I’ll just build them myself, how hard can this be?
Okay, the plan would be I’d use a CNC router to cut out all the cabinets out of nice 7 ply prefinished Baltic birch plywood. This is what cabinet shops do anyways. If I went the IKEA route, I’d still have to assemble everything. So I might as well just be assembling my own design with higher quality materials. The cheap IKEA cabinet faces were primed white MDF with the hinges ready to go in them. They were so cheap that I knew I wouldn’t be able to do it much cheaper, and I would have just used the same materials. So I’ll just buy those and try and refinish them glossy white like I wanted.
I figured if I really mess up on making these cabinets, worst case, I’ll just buy Ikea, and would only be out the $1,500 I spent on plywood.
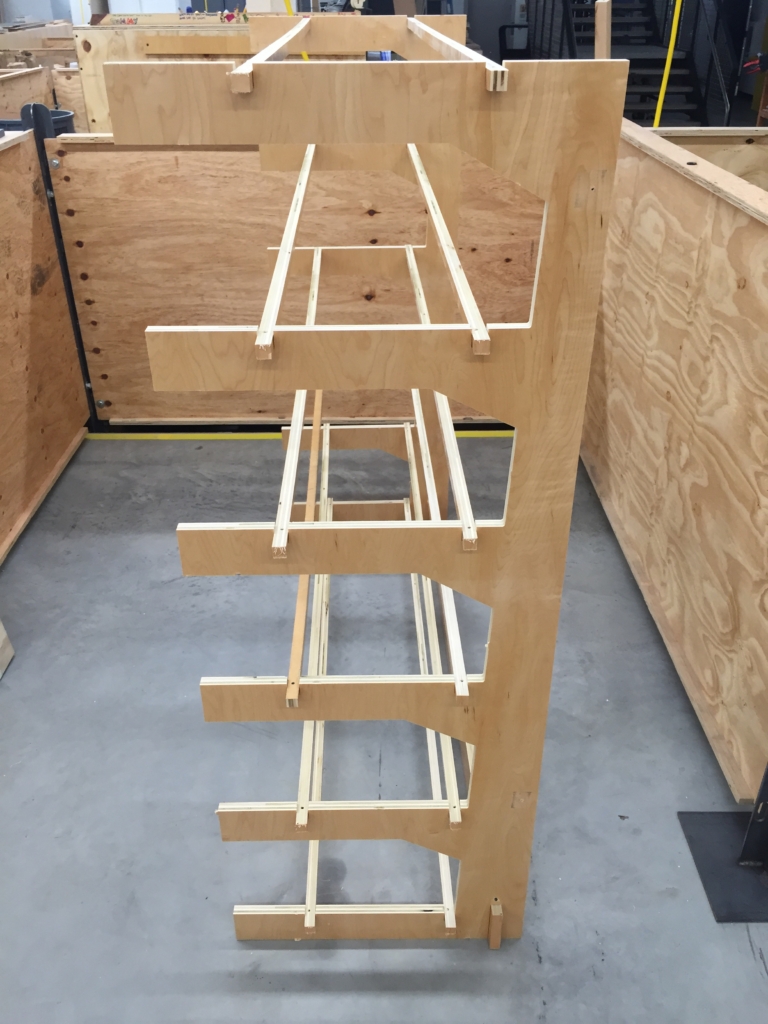
I would have to be organized to tackle a major project like this. Starting with a very detailed digital file. Then every part would need to be numbered because at some point I’d have hundreds of parts laying around and wouldn’t know what went to what.

Each color represented a different type of wood. 3/4″ finished, unfinished, 1/2″ finished….


By using the CNC I could put in all the rabbet joints, and make it really easy for everything to snap together.

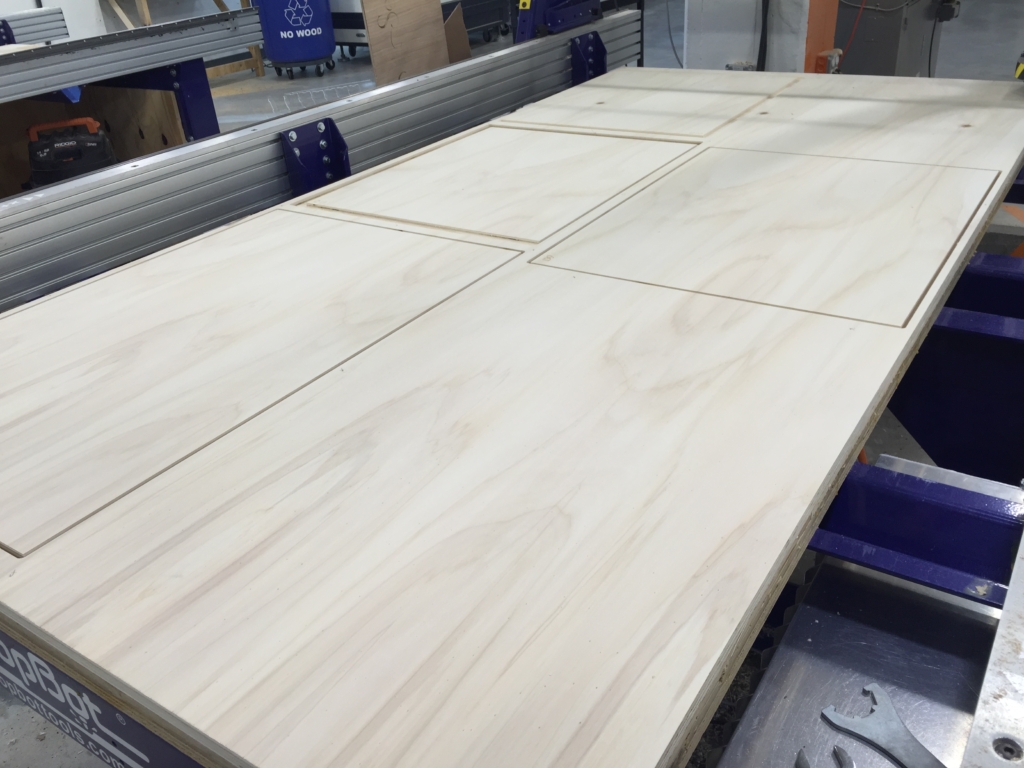
With the planning pretty much down, I disassembled the 3d file and laid everything else on 4’x8′ sheets. I would be able to order the plywood from that quantity.

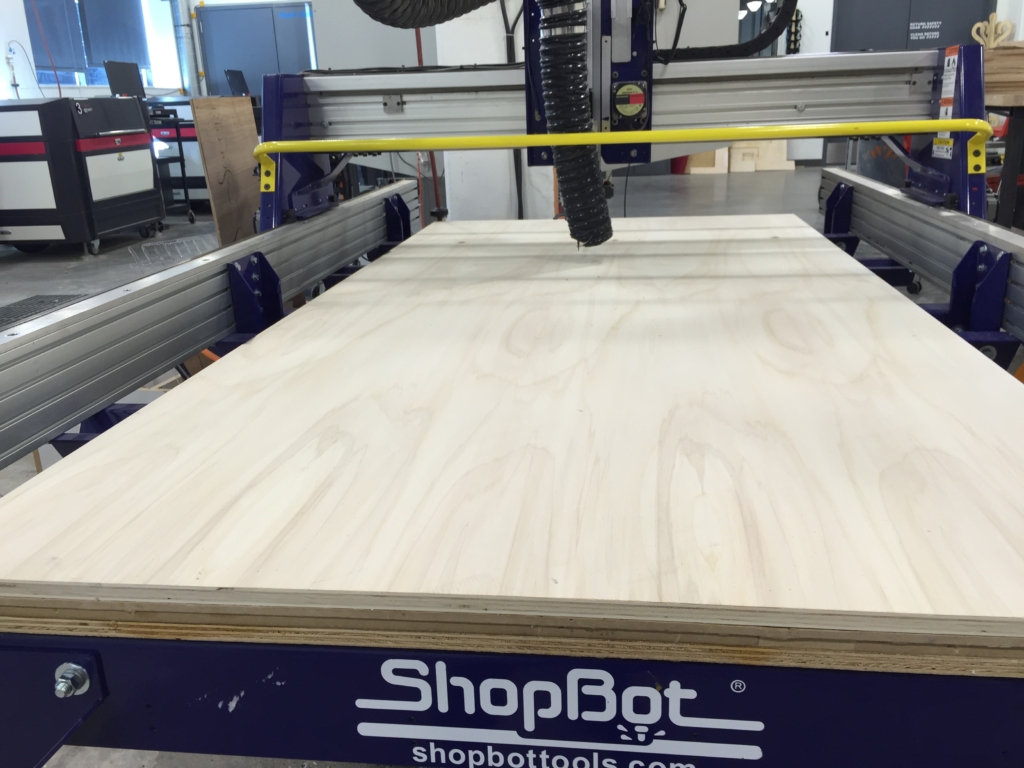
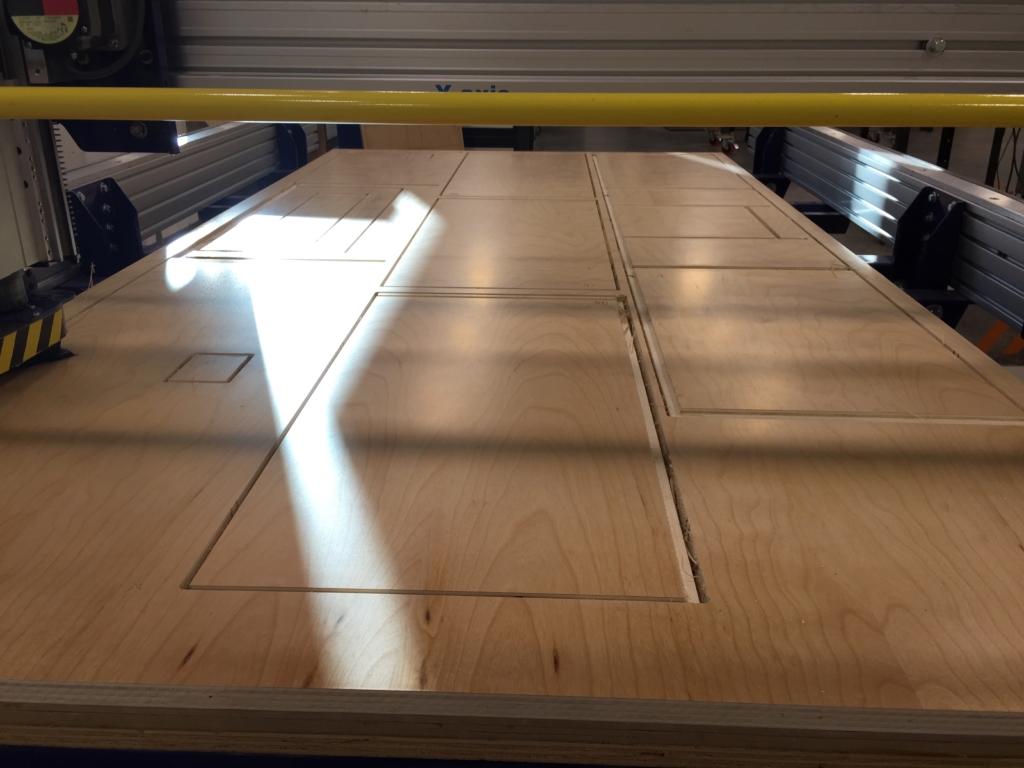
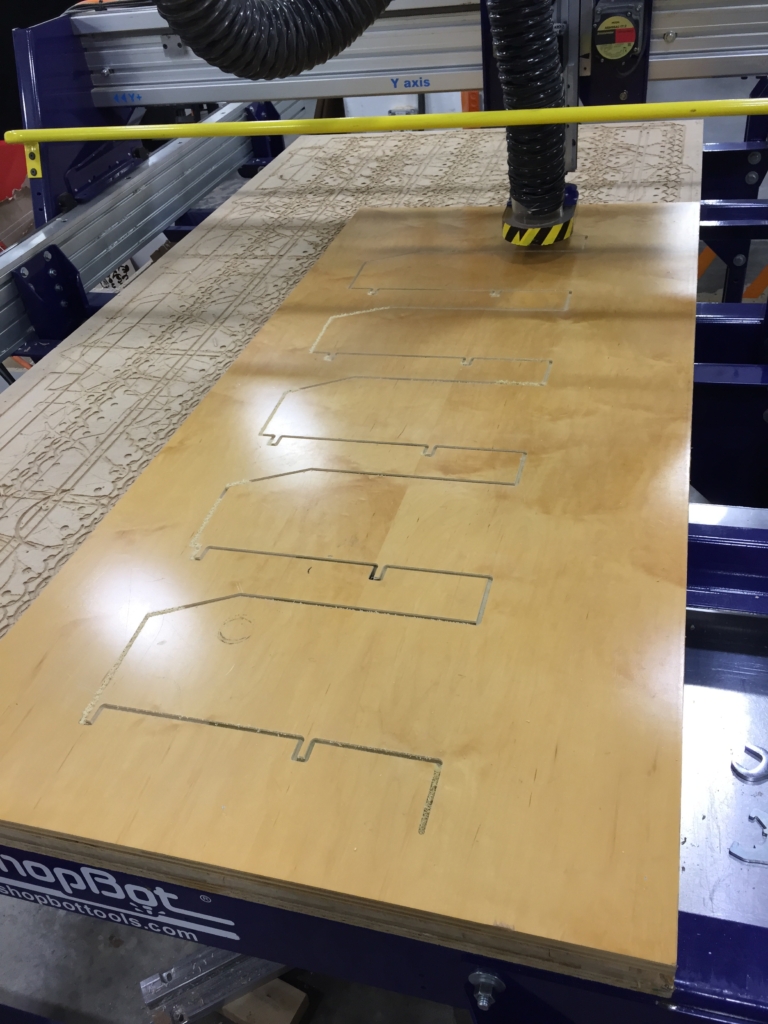
Thinking about the CNC, the one I would be using does not have a vacuum bed. That means I would have to secure the plywood to the CNC bed using nylon nails. This is common practice because if the router bit goes through the nylon nail, no problem. If it were a metal screw then it would damage the bit. The problem with putting nails the plywood, is if I put them in the wrong spot, it could be seen in the cabinets later. To work around where the nails would go, I projected the cut files above onto the plywood before I cut it. Then I would mark where I could nail the wood in the area that would be wasted.


Ready to place the sheets on the CNC and begin cutting out all the parts.
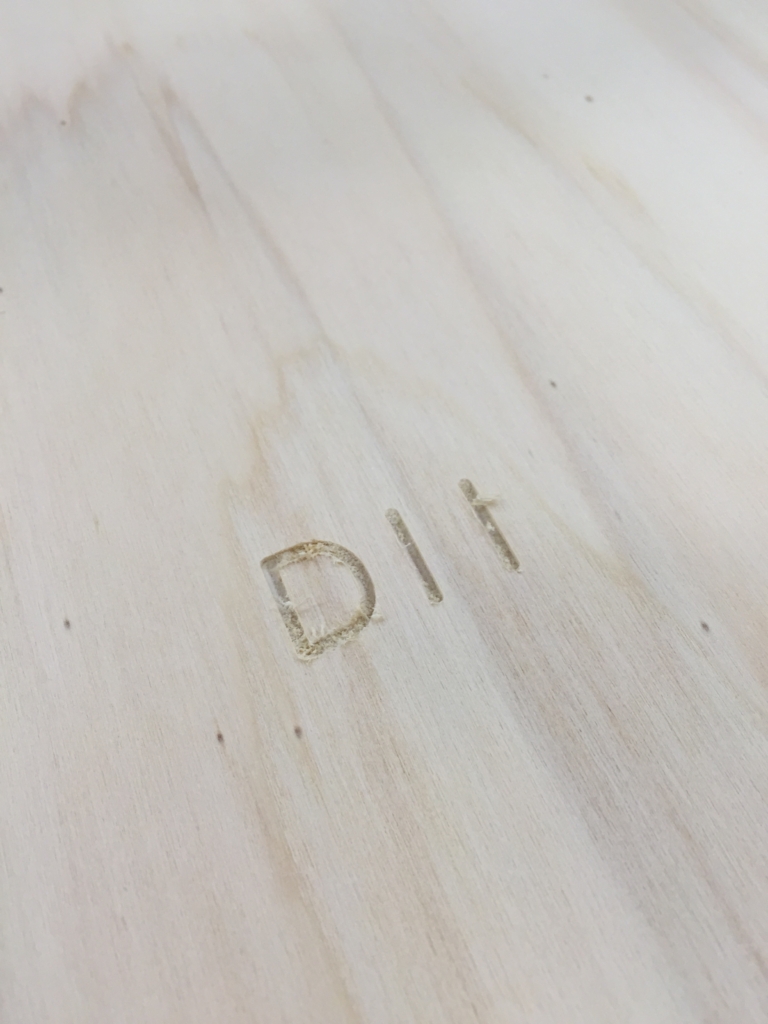

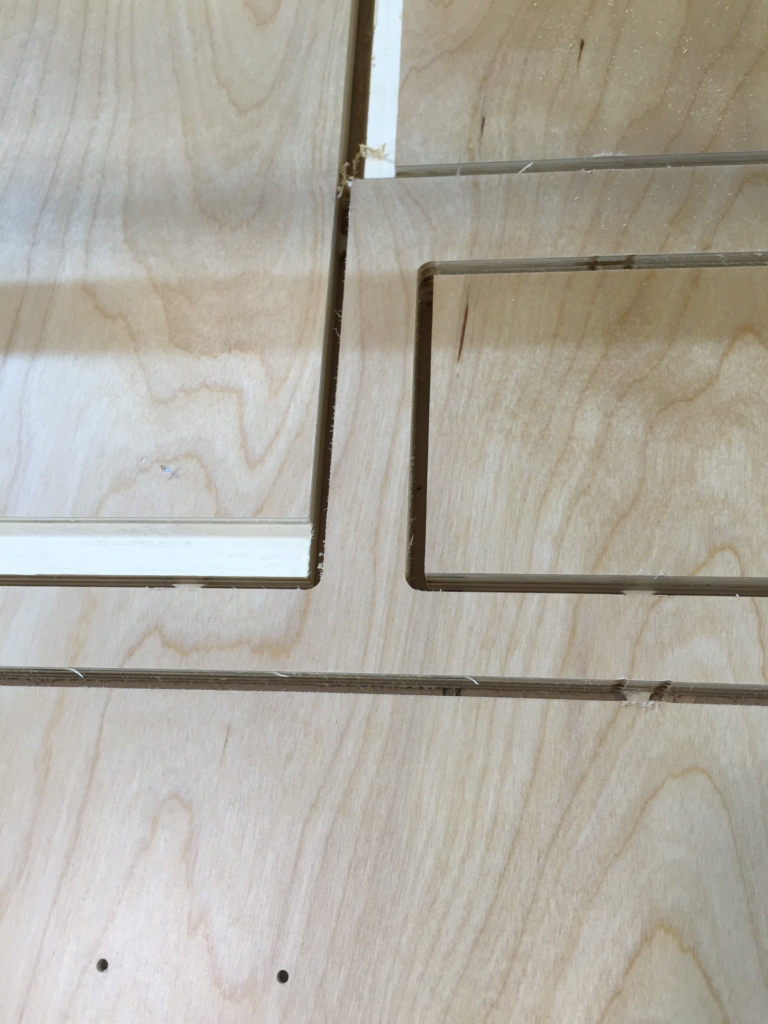
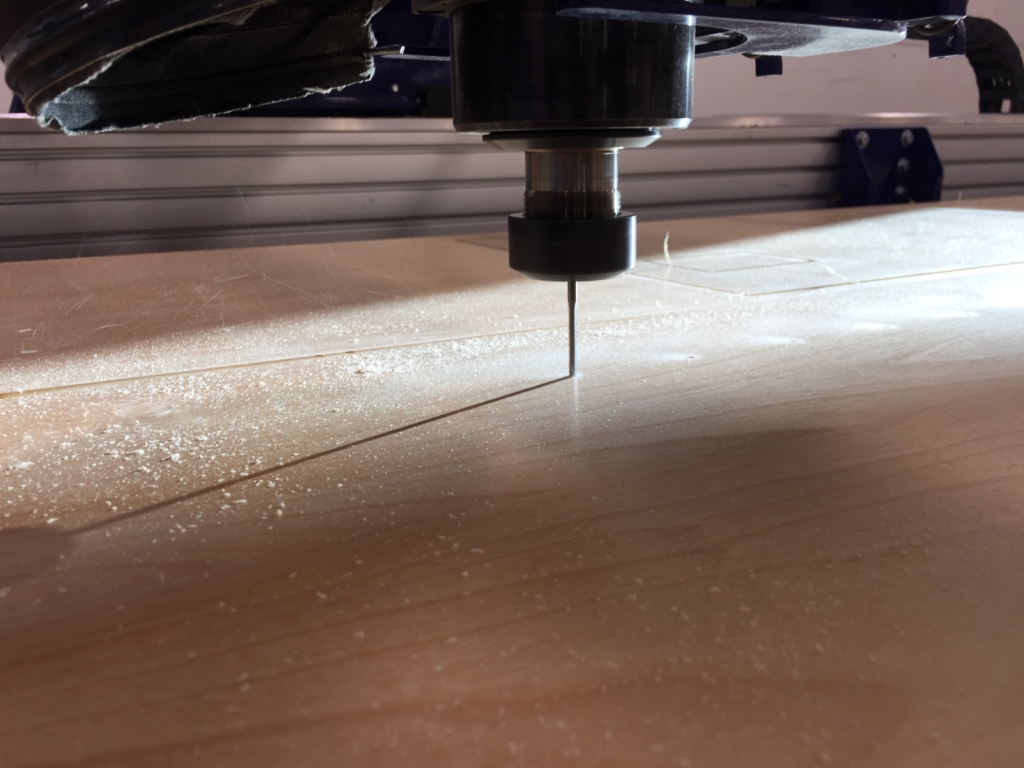
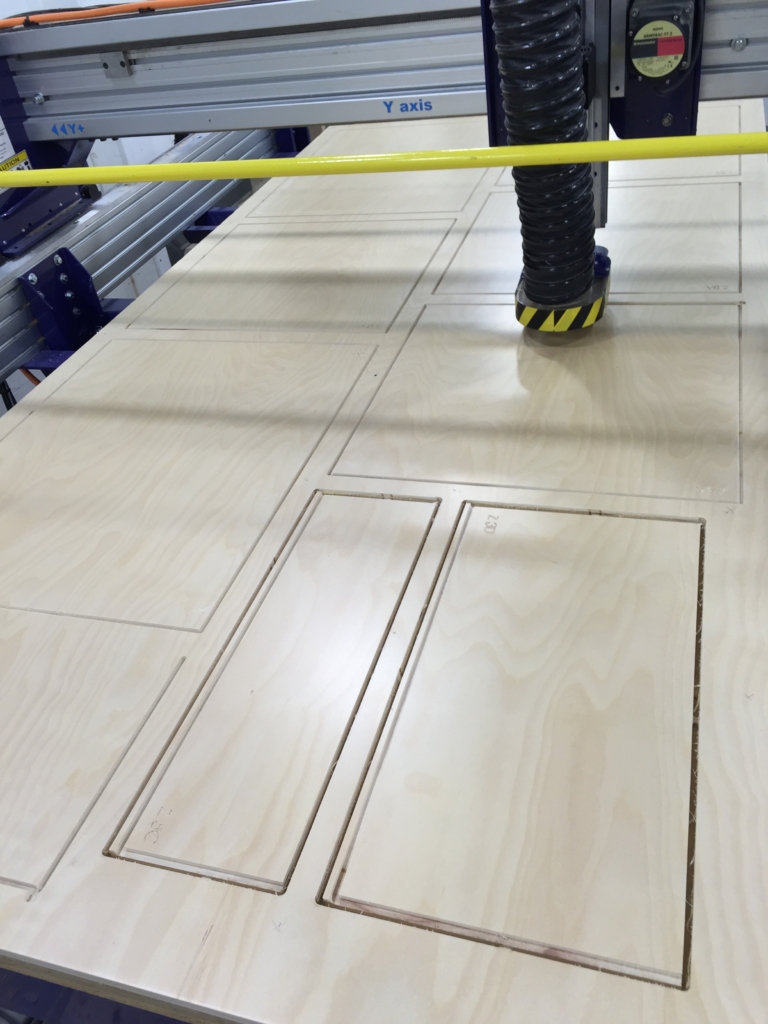
Most of the cutting was done with a 1/4″ up / down CNC bit. This would make sure that both sides of the cut plywood would have smooth edges. I also used a V bit to etch the part numbers in there, and a 1/8″ bit for predrilling the holes for the shelves.
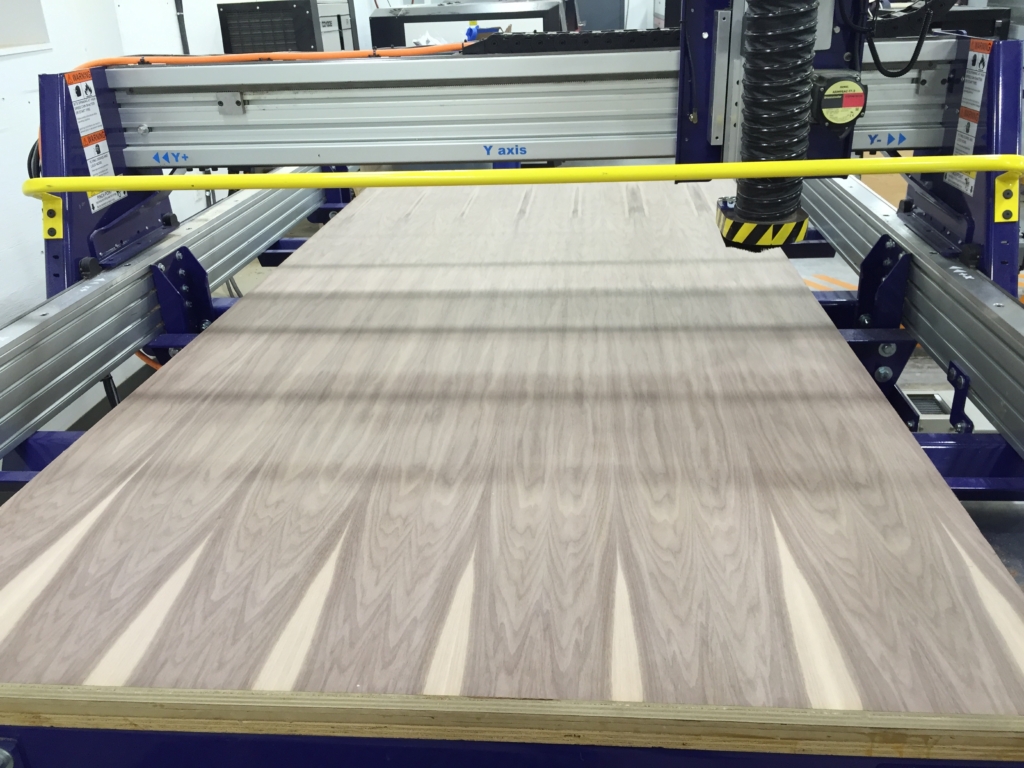
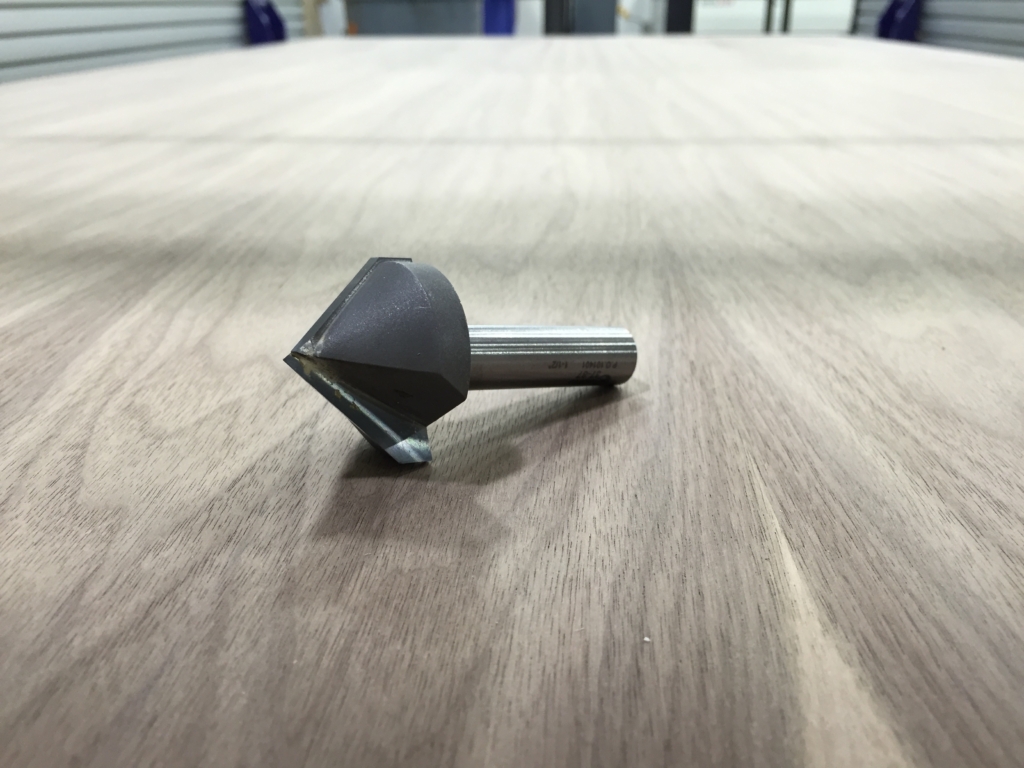
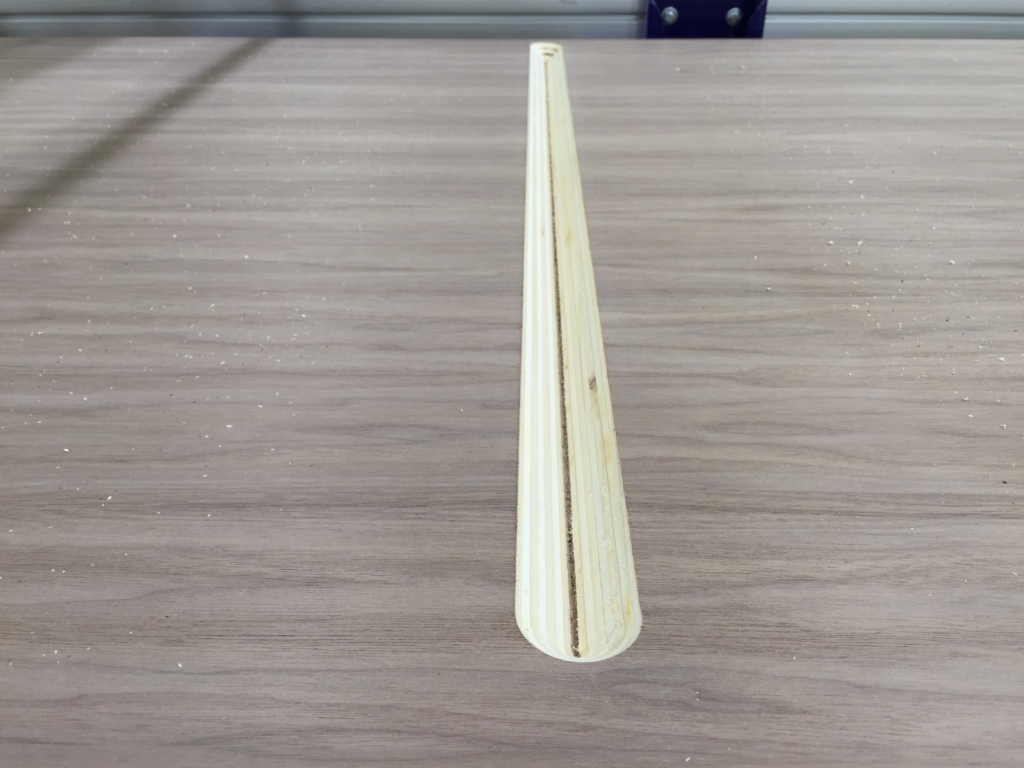
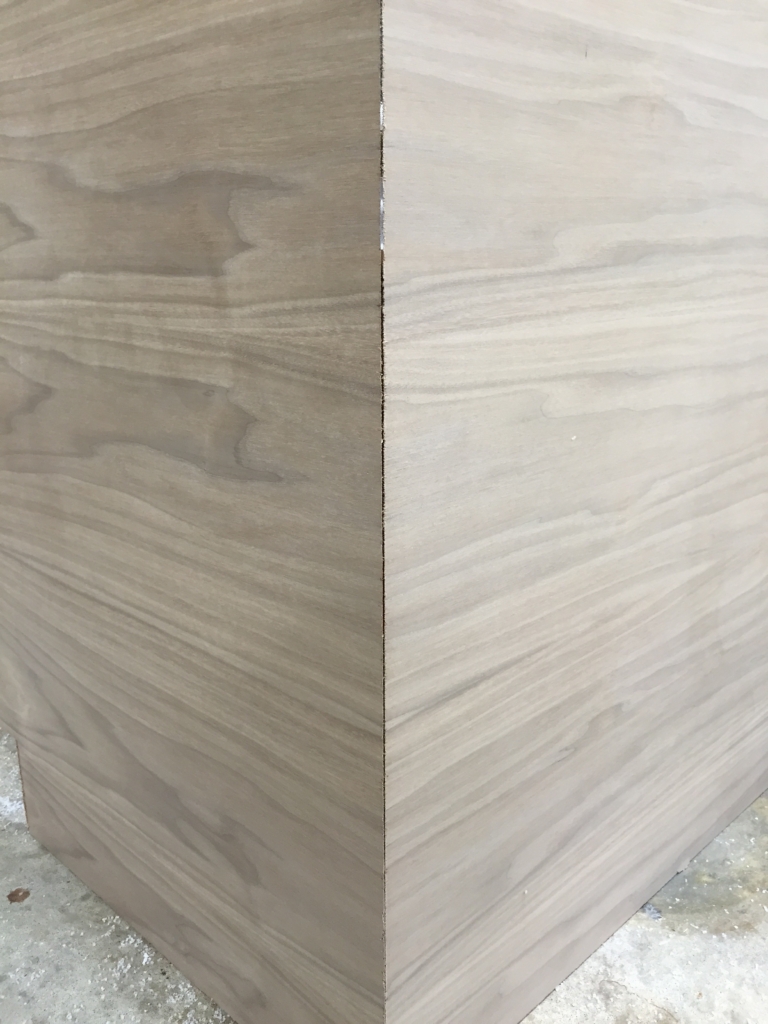
For the island, I wanted the wood grain to wrap around. To accomplish this I used a 45 degree bit. This allowed me to cut through the plywood ever so little to bend it and keep the wood grain continuous. Very cool look. I was happy with the outcome.
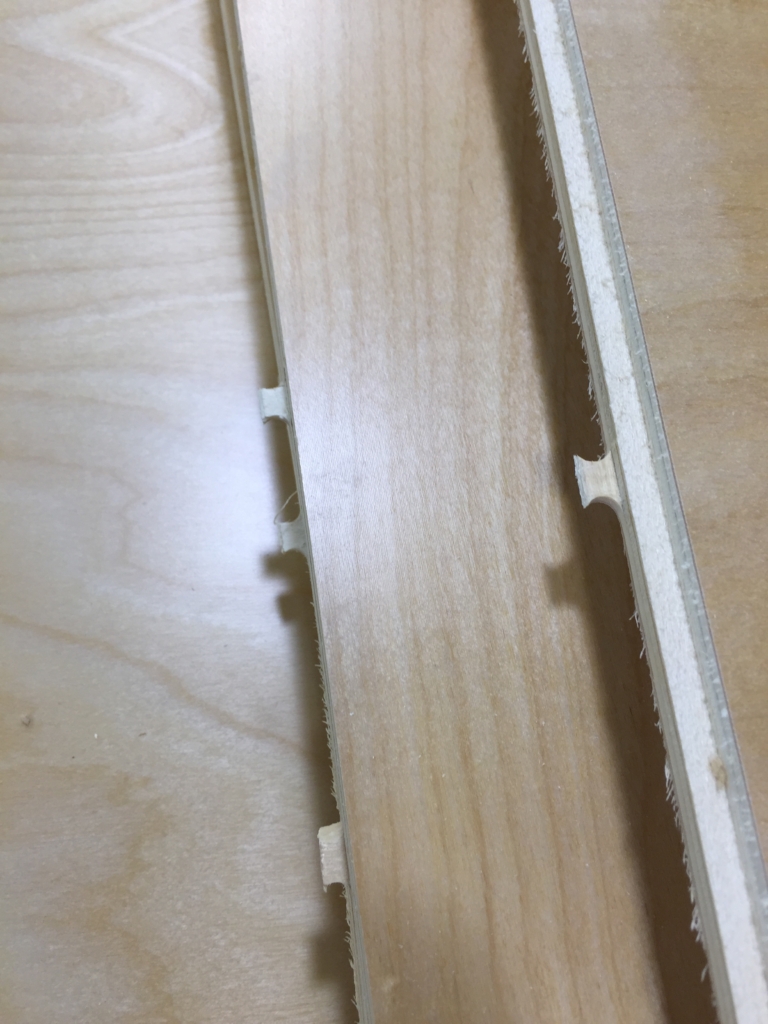
Since I was not using a vacuum bed on the CNC, I had to out tabs into the pieces. This would keep everything together kind of like a plastic model set. I would use a traditional table router to knock off all these later


I also put my signature in the cabinets, kind of cheesy, but I liked it.
On to the cabinet faces.
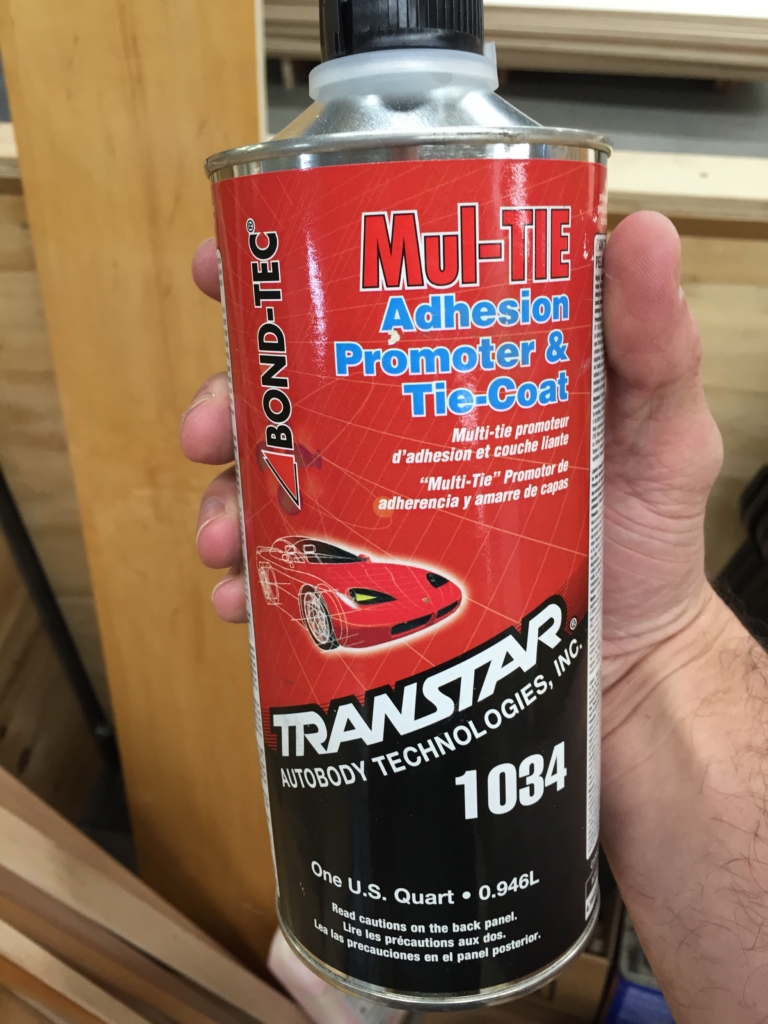
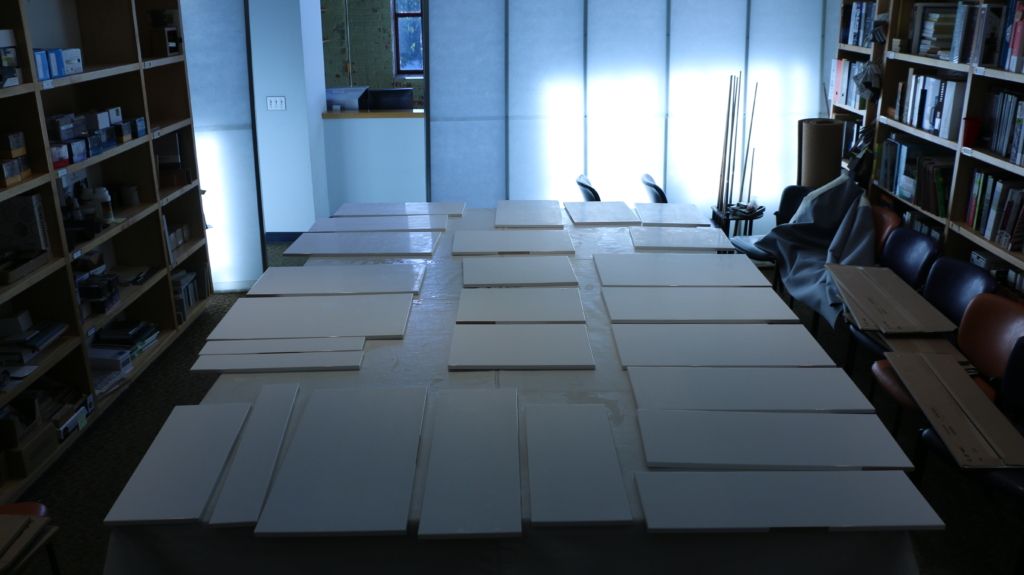
I bought all the faces from IKEA’s lowest line. They were painted white MDF, and had all the spaces for the hinges ready to go. I wanted the gloss cabinets though. In thinking about how to get my cabinets glossy, I thought about what kind of paint would give me the gloss look I was after. Well, cars are shiny. I’ll just use car paint. So after a trip and conversation to my local car paint shop. I was ready to start my paint process.
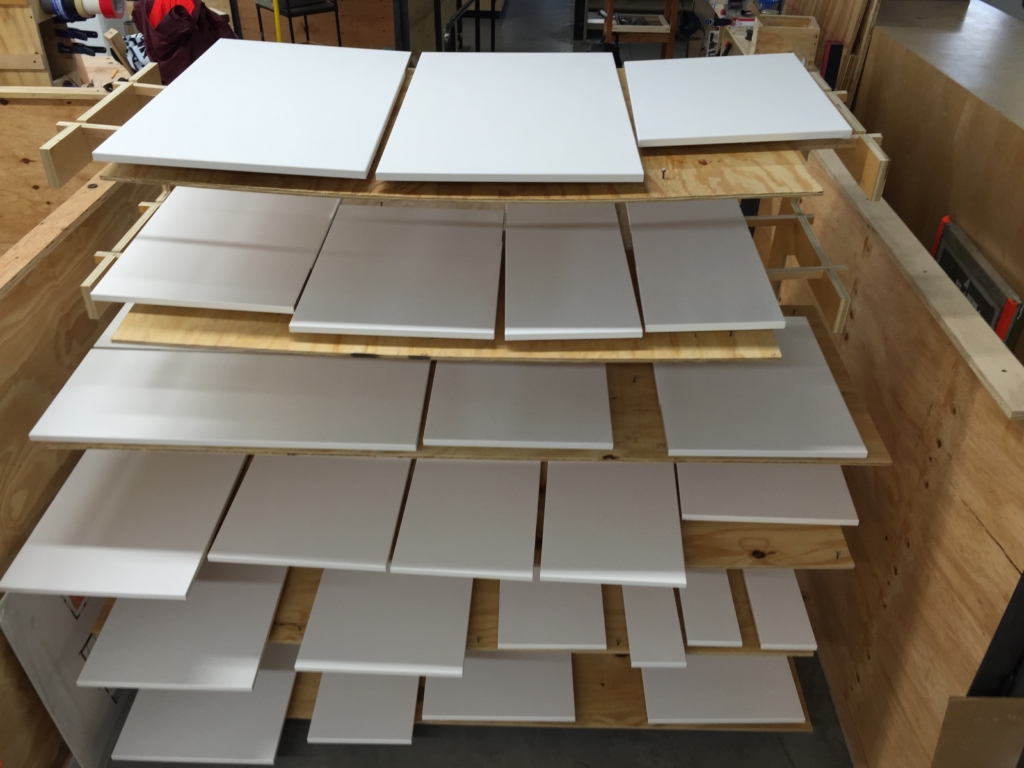
My shop has a paint booth, but its only about 8×12. Not big enough to paint them all at once. I figured I would make some kind of drying rack, and do the faces in groups. Then when I have spayed them, I could put them up on the rack before the next coat.
I would need to do an adhesion promoter, then 2 coats of color, (white) and 2 coats of clear. With car paint the flash times are within 15 minutes, so this was going to be a quick stressful process. I would want to start by scuffing up the cabinets first.
For the drying rack I put in screws at the same height, and a drop of hot glue to keep them gripped to the drying rack. Also this would allow the paint to best dry, and get proper coverage.
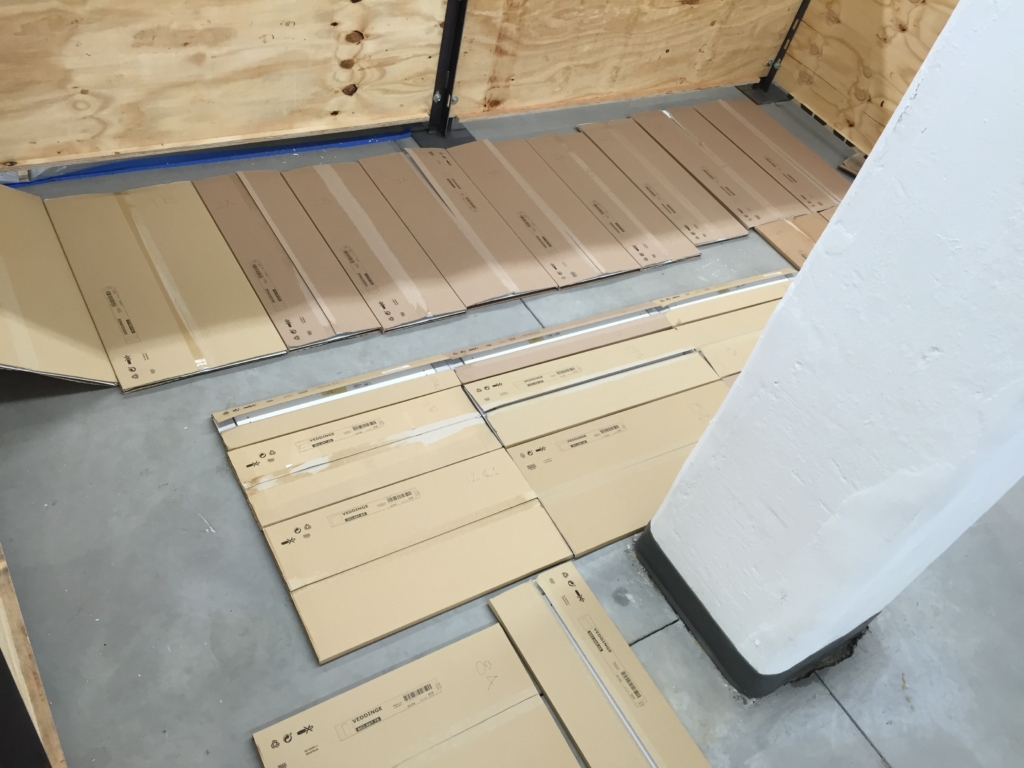
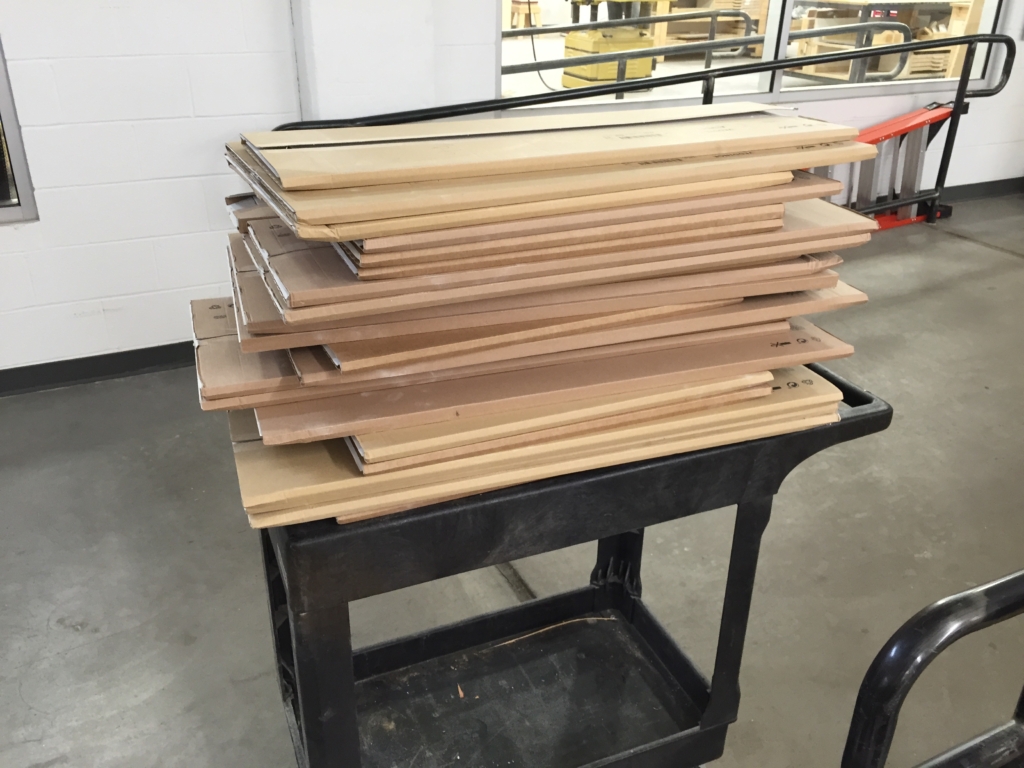
With everything unboxed I was ready to start painting.
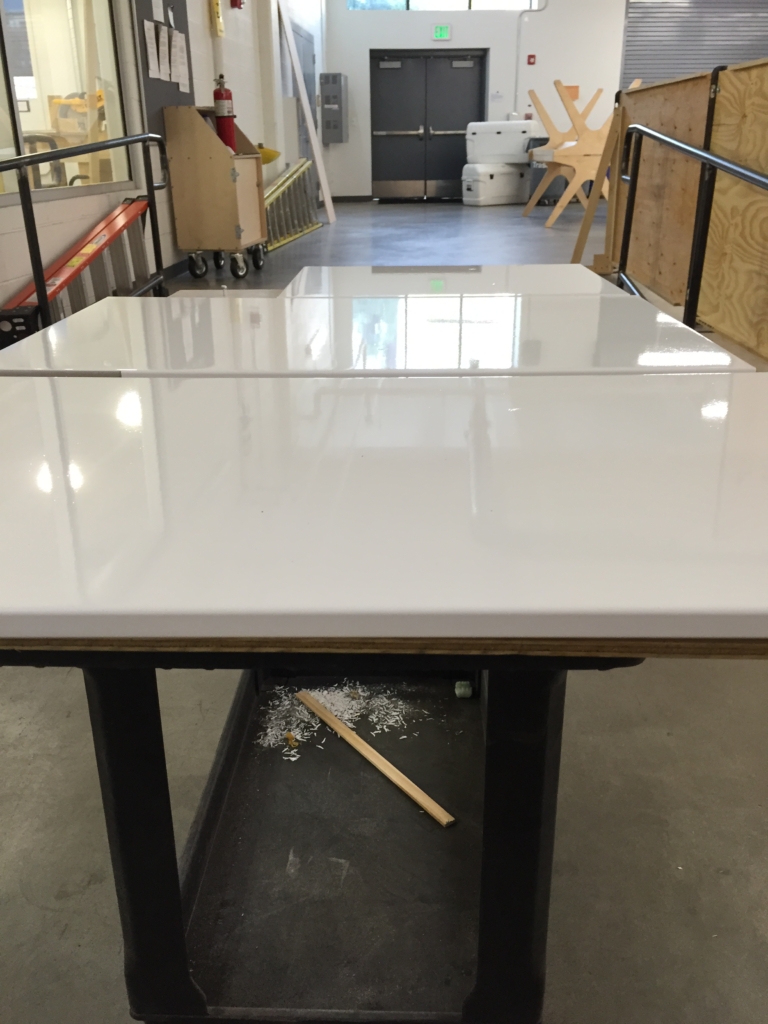
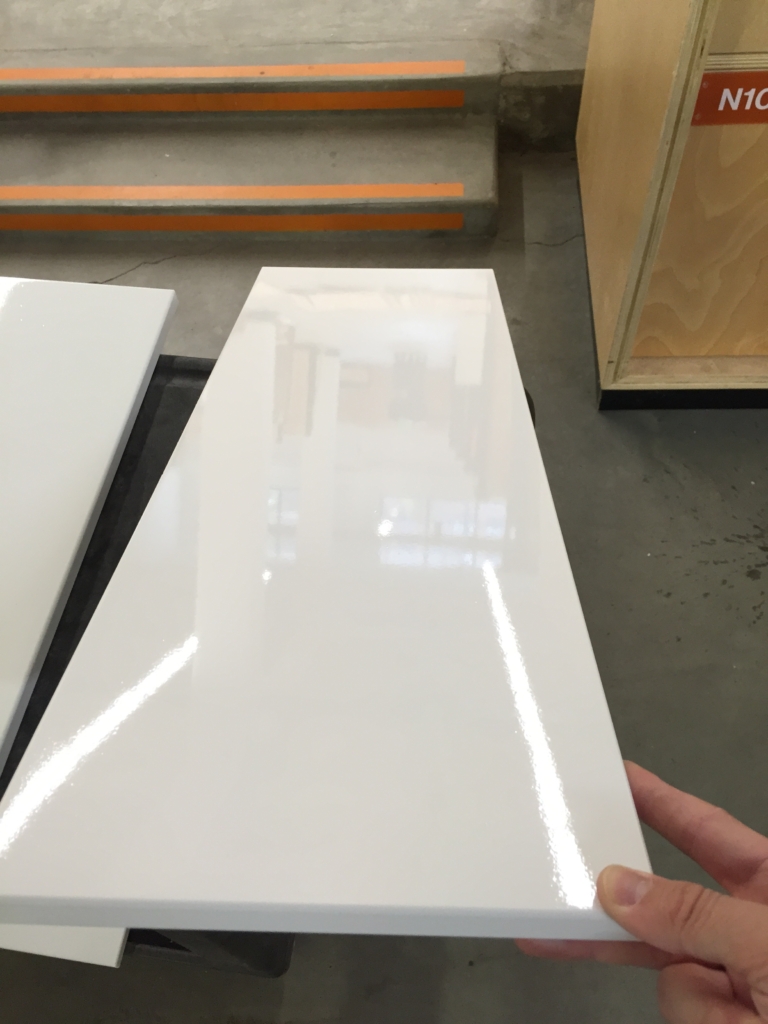
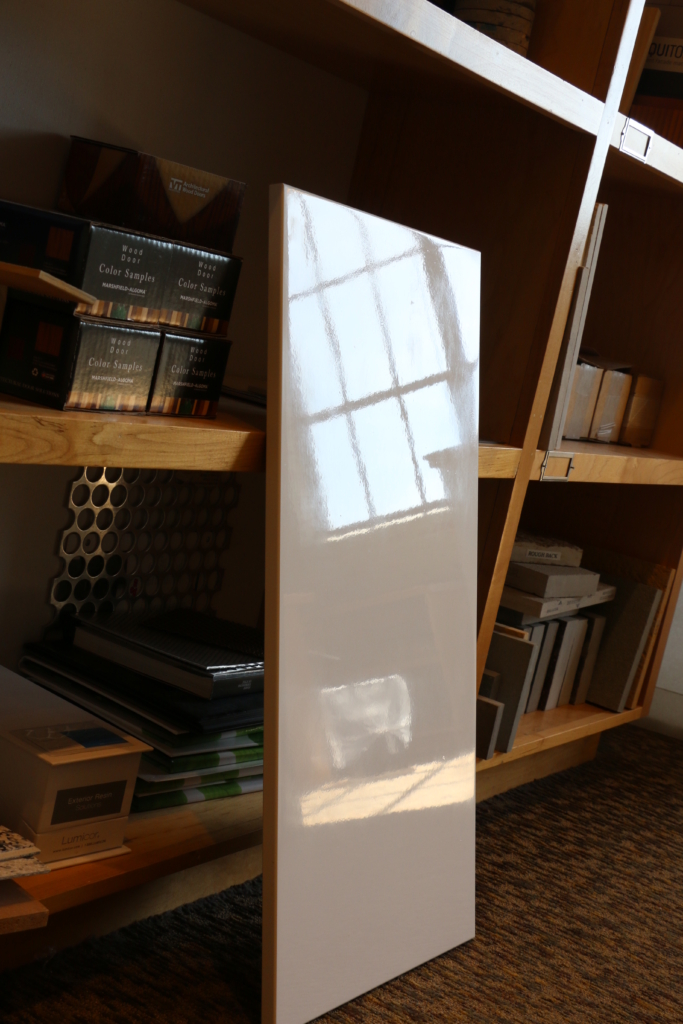
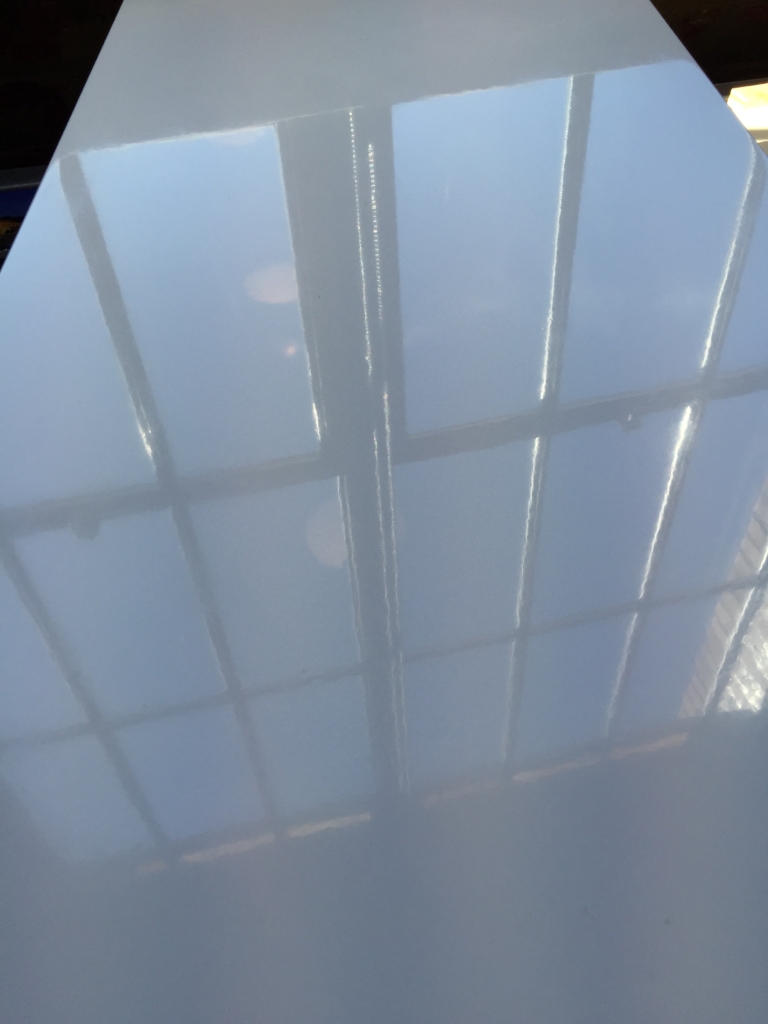
The outcome came out really great! A bit of orange peel texture to them, but still good. On to wet sanding (800, 1500, 2000) and waxing.
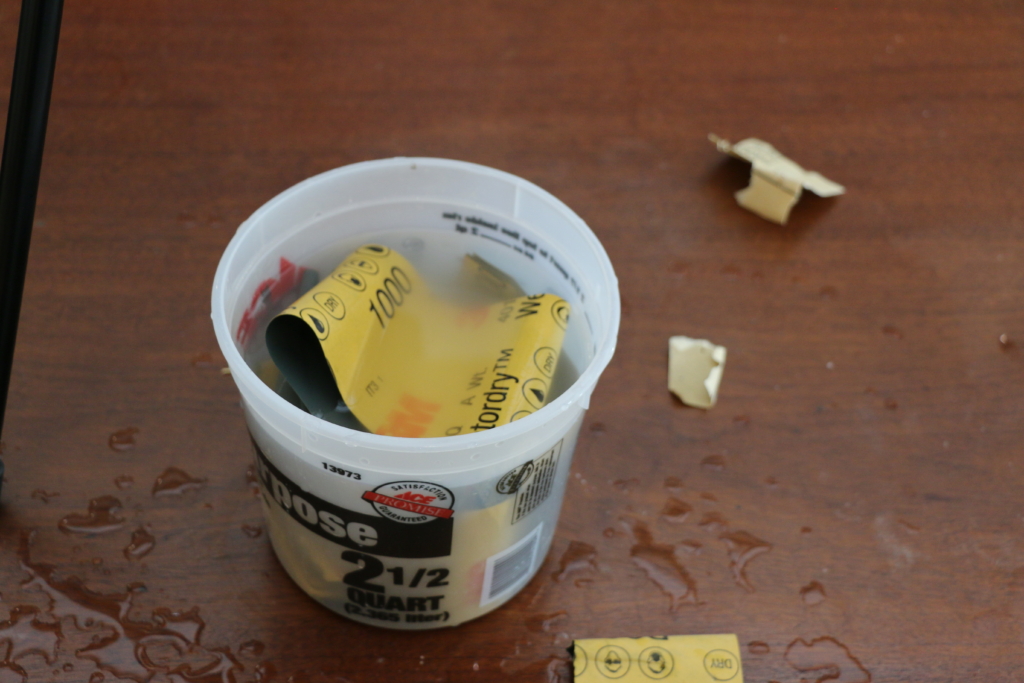
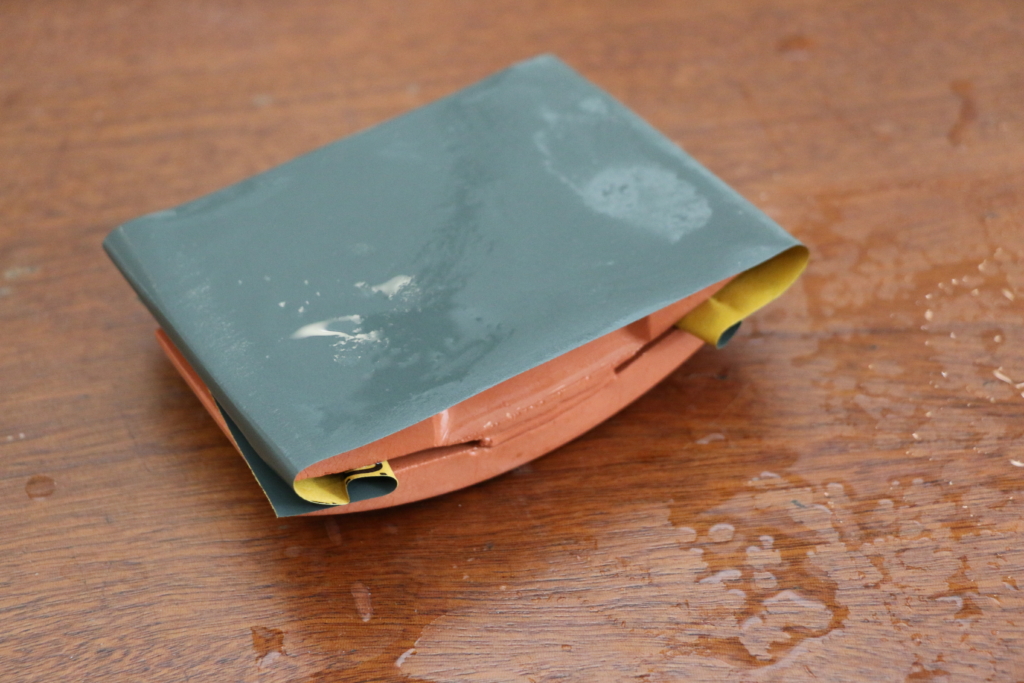
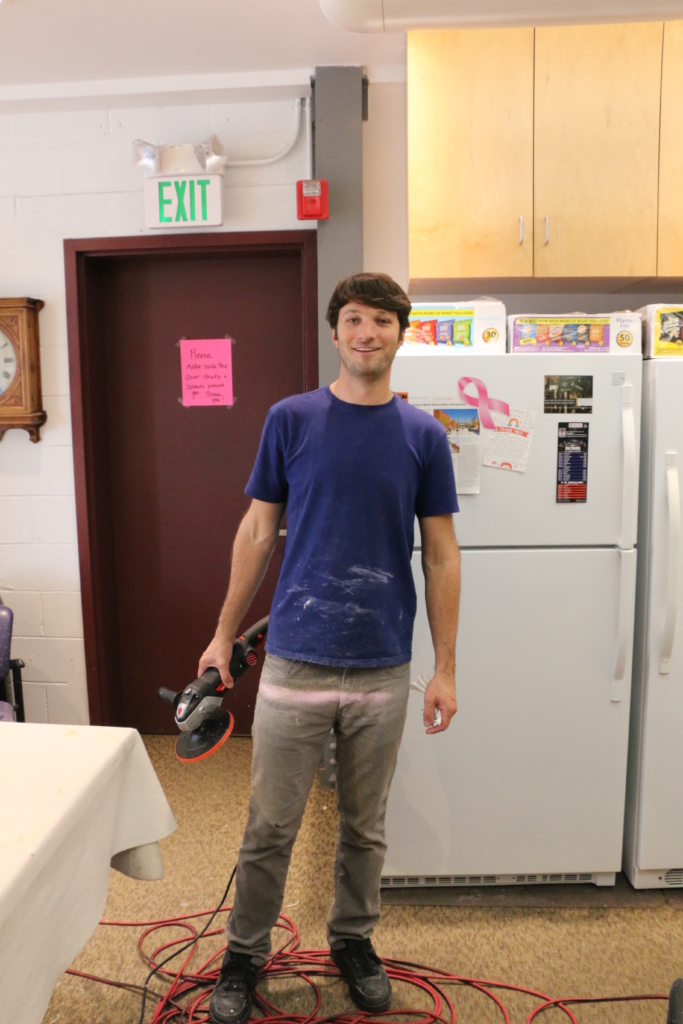
That line on my pants is from the orbital buffer flinging pink car wax all over myself and everything else.
At this point, I had all the pieces ready to go. All the cabinetry was cut, all the designing was done. All of the faces were beautiful and glossy. Now it was time for me to bring everything back to the house and start preparing for the install. Tune into part II of this post.
Very glad you ended up with the white cabinets and layout that you chose. I think it maximizes your usable space and light. Novel idea with projecting the nail locations on the sheets. I might have instead just sent the CNC to do a pin prick light pass without moving the sheet to identify those locations- looks like it went smoothly for you though. Very cool! The gloss is highly impressive
Making those cabinet boxes from scratch look like a ton of work, but I love the custom result.
haha, Zach, that would have been a much easier idea. I didn’t think to do the pin prick, I’ll keep that in mind next time for sure.
I think this project turned out really well, it is interesting to me how much work it is to make things nice in smaller spaces. I think making small tricked out kitchen is almost harder than making a nice kitchen in a big open space.